I wanted to put a better air cleaner assembly on my Weber equipped U20 motor in the Datsun SRL-311. I did not want to use socks which fit over the air horns. There is a K&N type air cleaner housing available but the styles I've seen are either plastic or will not allow air horn use.
I really liked the look of the Pipercross product. There was no listing for the Datsun 2000 Roadster, but they have blank air filter backing plates available for custom applications. So here, below, is how I made this air cleaner setup work for my application.
I figured there was an easier way to locate the holes to drill
rather than using calipers and measuring, 3D modeling and such. After
all, how do you mark places to drill accurately when you cannot see
through the material otherwise?
I do no not have the patience, tools or skill set to start and
complete work on the final/only piece of material, the Pipercross air
cleaner backing plate, at hand.
The material for the plastic template was something I had on
hand. It was a left over from another project. It was from a piece just
too large to throw away. (Thrifty). Should you go out and buy a piece of
clear lexan? Well, have you had to replace a screen/storm door recently
or just the window itself? It doesn't have to be pretty, it is
just for template work.
I have a spare Weber DCOE which was used to mark the holes and
check the results. Much easier than working bent over the fender with
your head in the engine compartment.
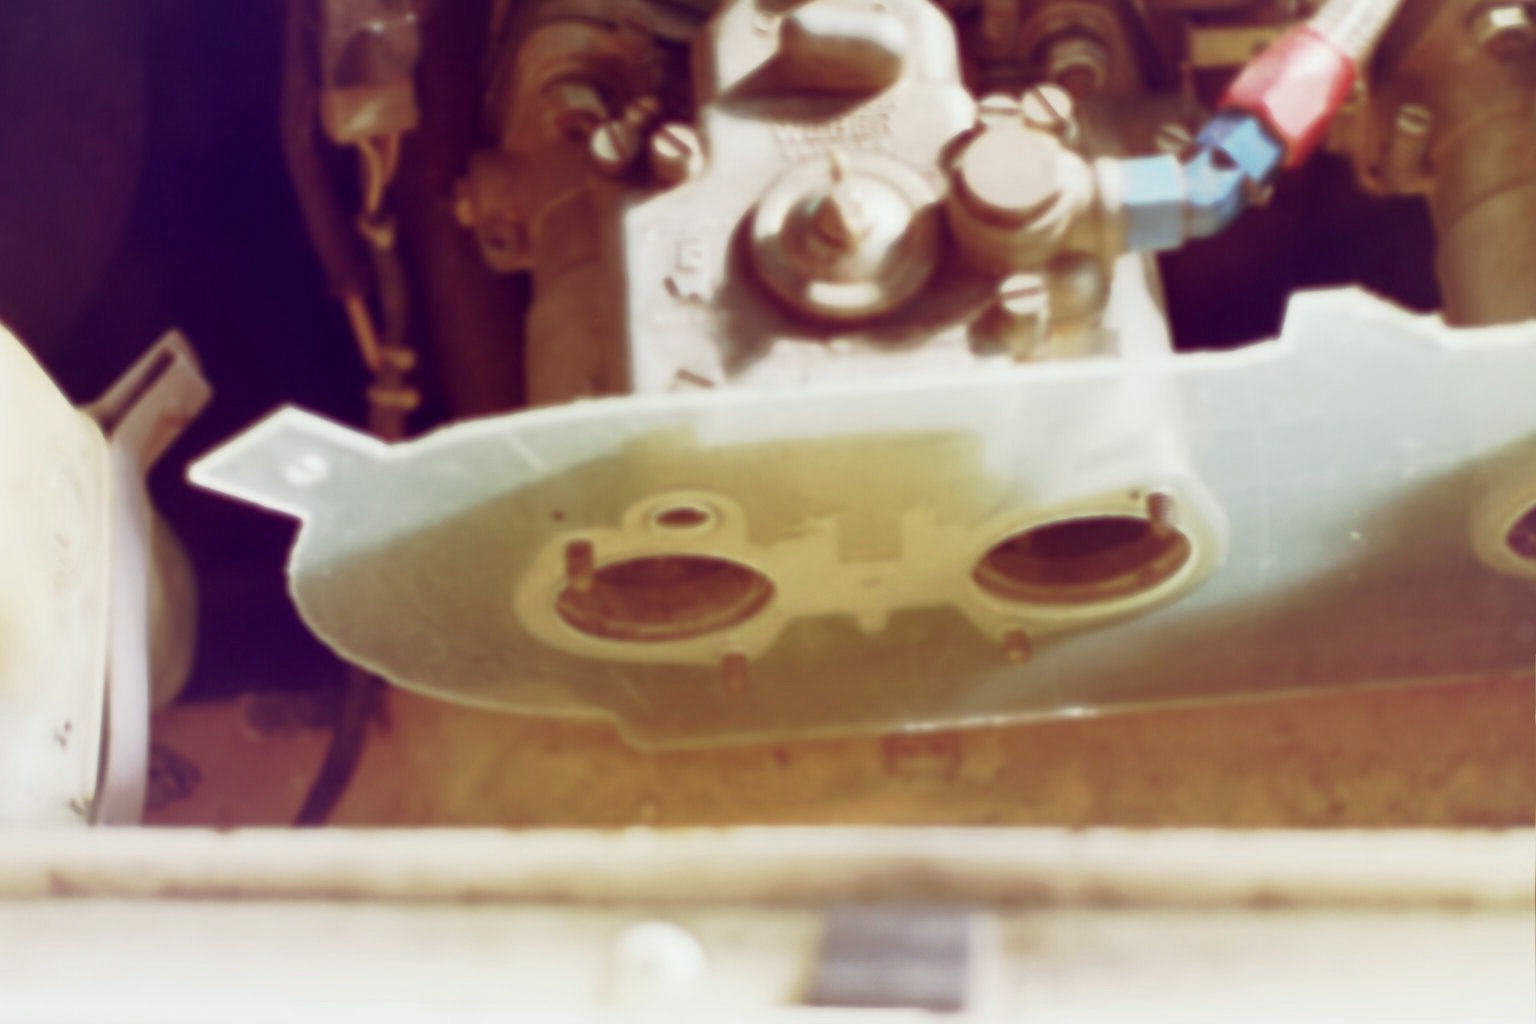
Some of the most important measurements, that the Weber intakes and retaining bolts line up.
Some of the most important measurements, centering the plate so it doesn't hit the engine compartment floor, or hood, and that it cleared the Brake MC.
Some of the most important measurements, that left Weber carburetor and right Weber carburetor are centered on the plate so it can be bolted on without interference problems. This last one, is probably the most important one.

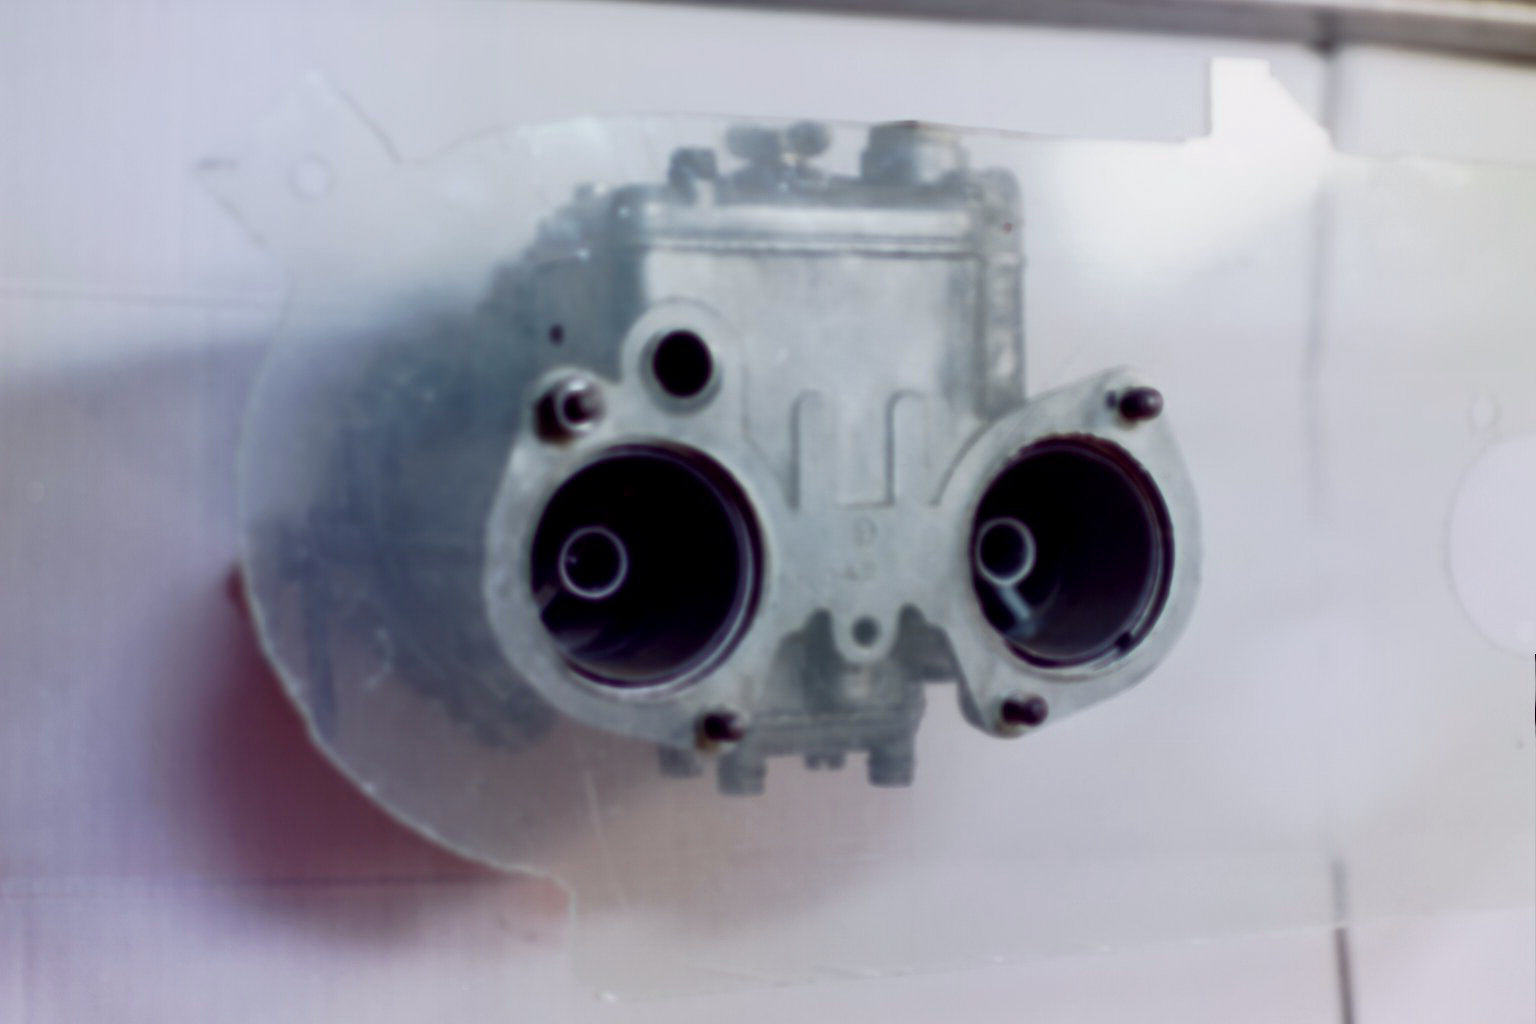
This photo shows a nearly complete template. There was a lot of marking, sizing up, erasing, marking etc. before the plastic was finally cut and fitted.
So here is the template ready to go work. Thinking about it. I didn't need to make an exact size copy of the aluminum plate. It just had to be wide enough to cover the retaining bolts (for the air horns) and long enough to stretch across both carburetors. The full size did help to temporarily hold the air cleaner in the spot where it was to suppose to go, though.
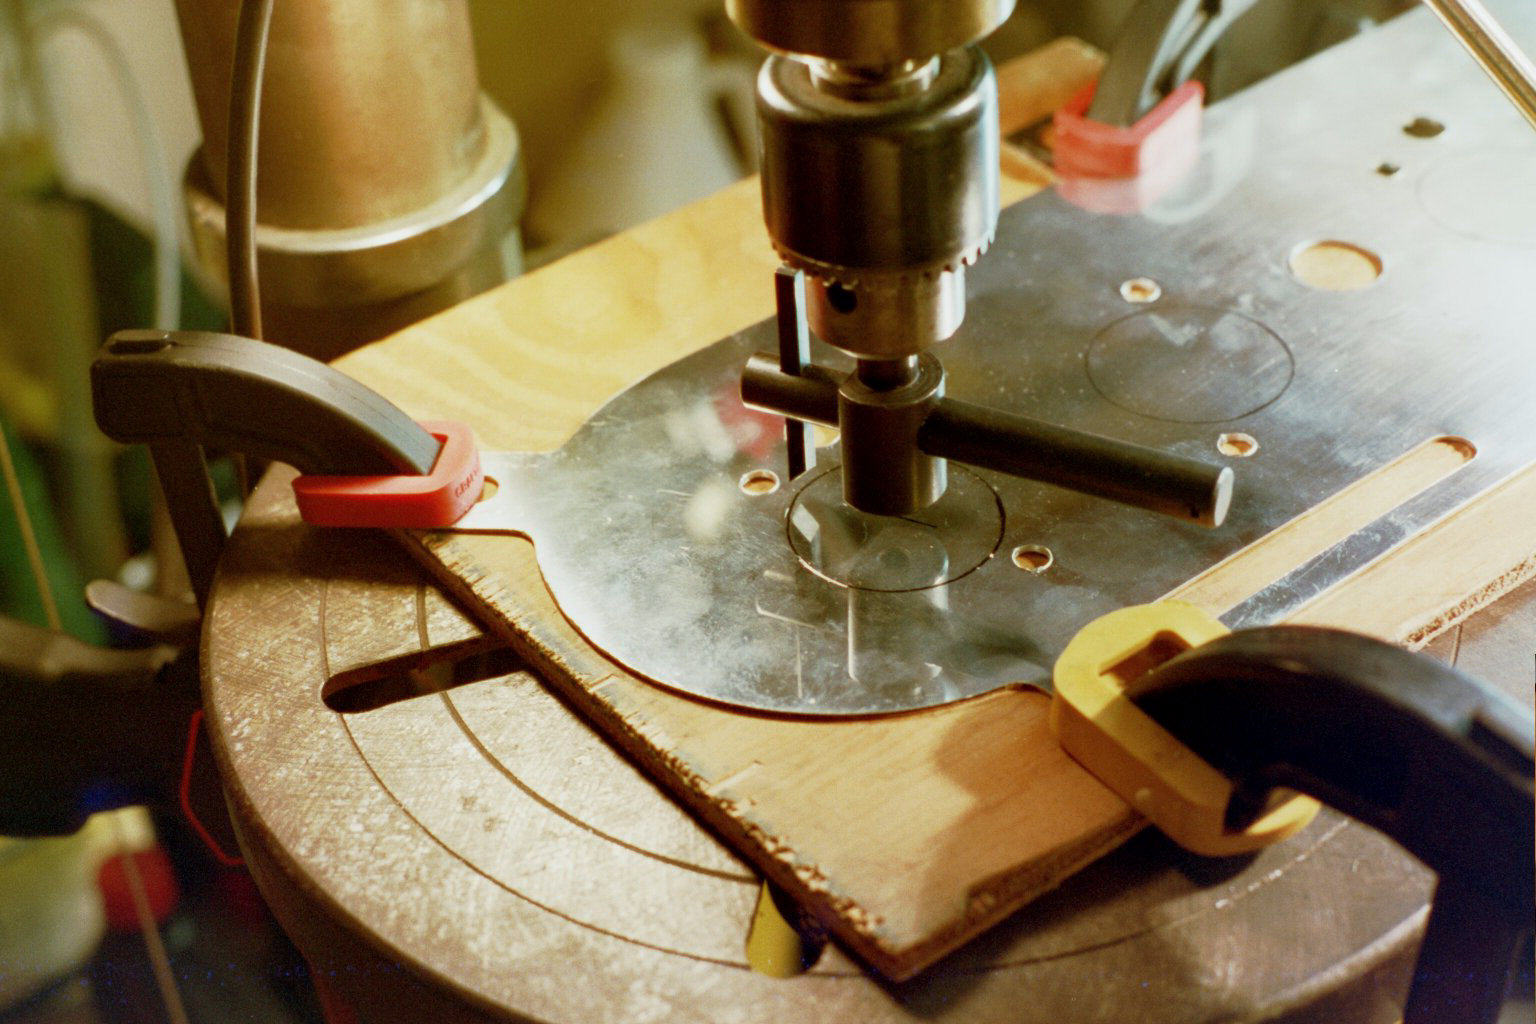
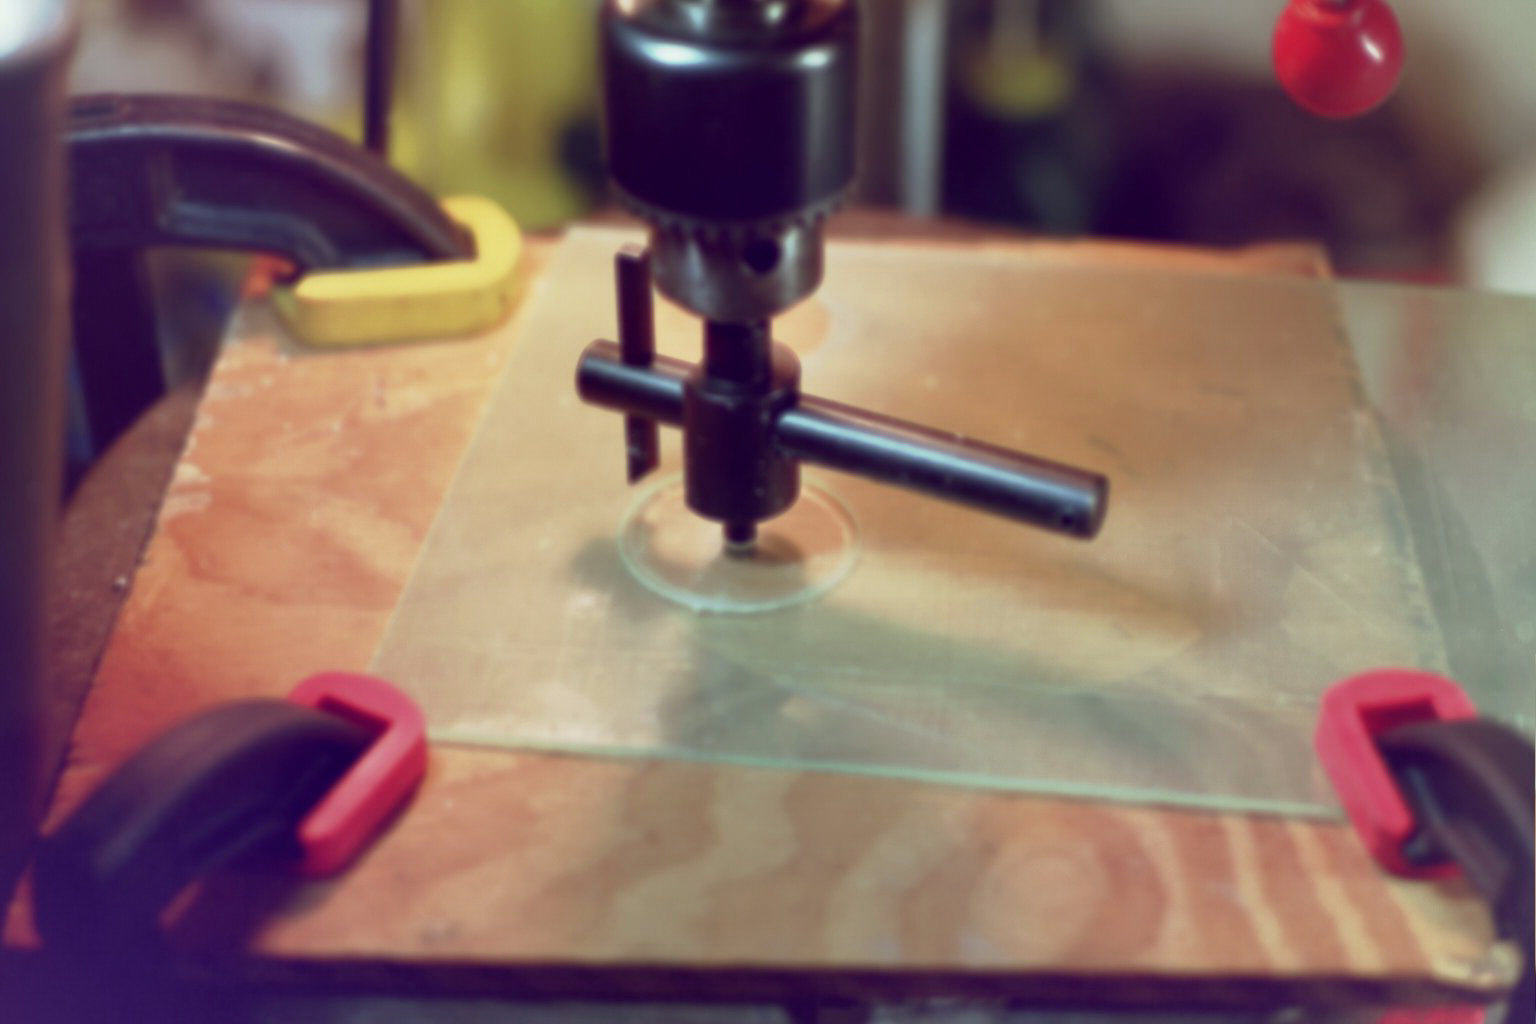
The cutter I used is designed for wood working applications. It is good to know that, one day, when I get interested in wood working, I will already have a several tools at hand! Less to buy later on. When I cut the plastic to make the template, I used the pilot drill bit in the hole cutter. This tool was used right out of the box. Here, when I cut the aluminum, I chose to leave the drill bit out.
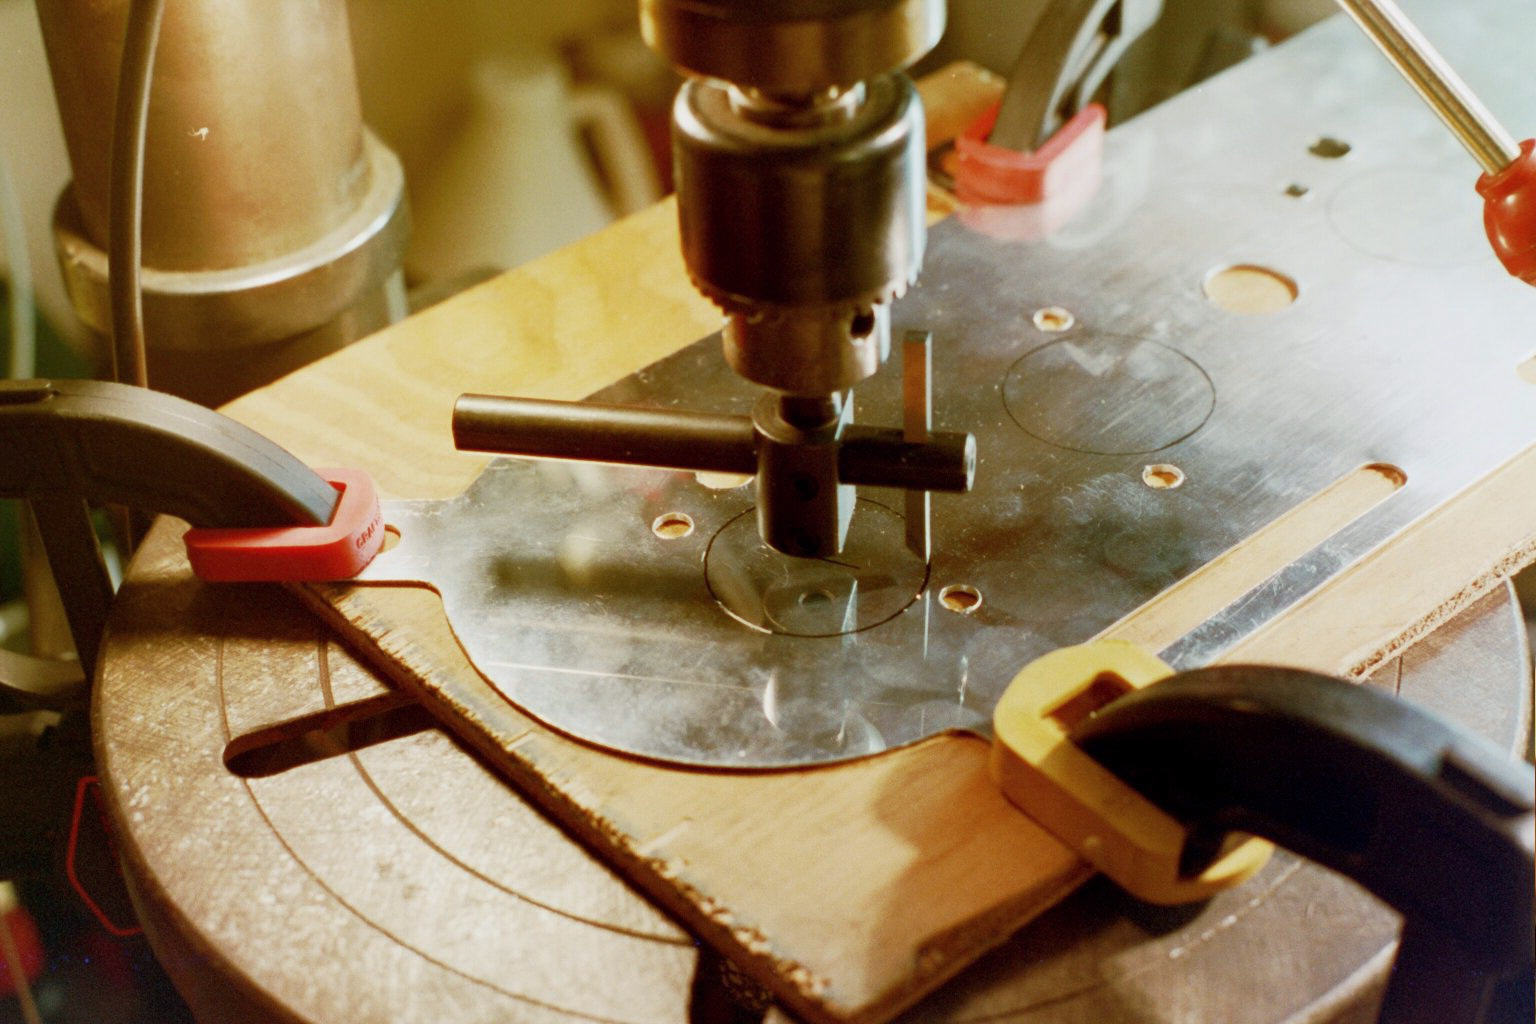
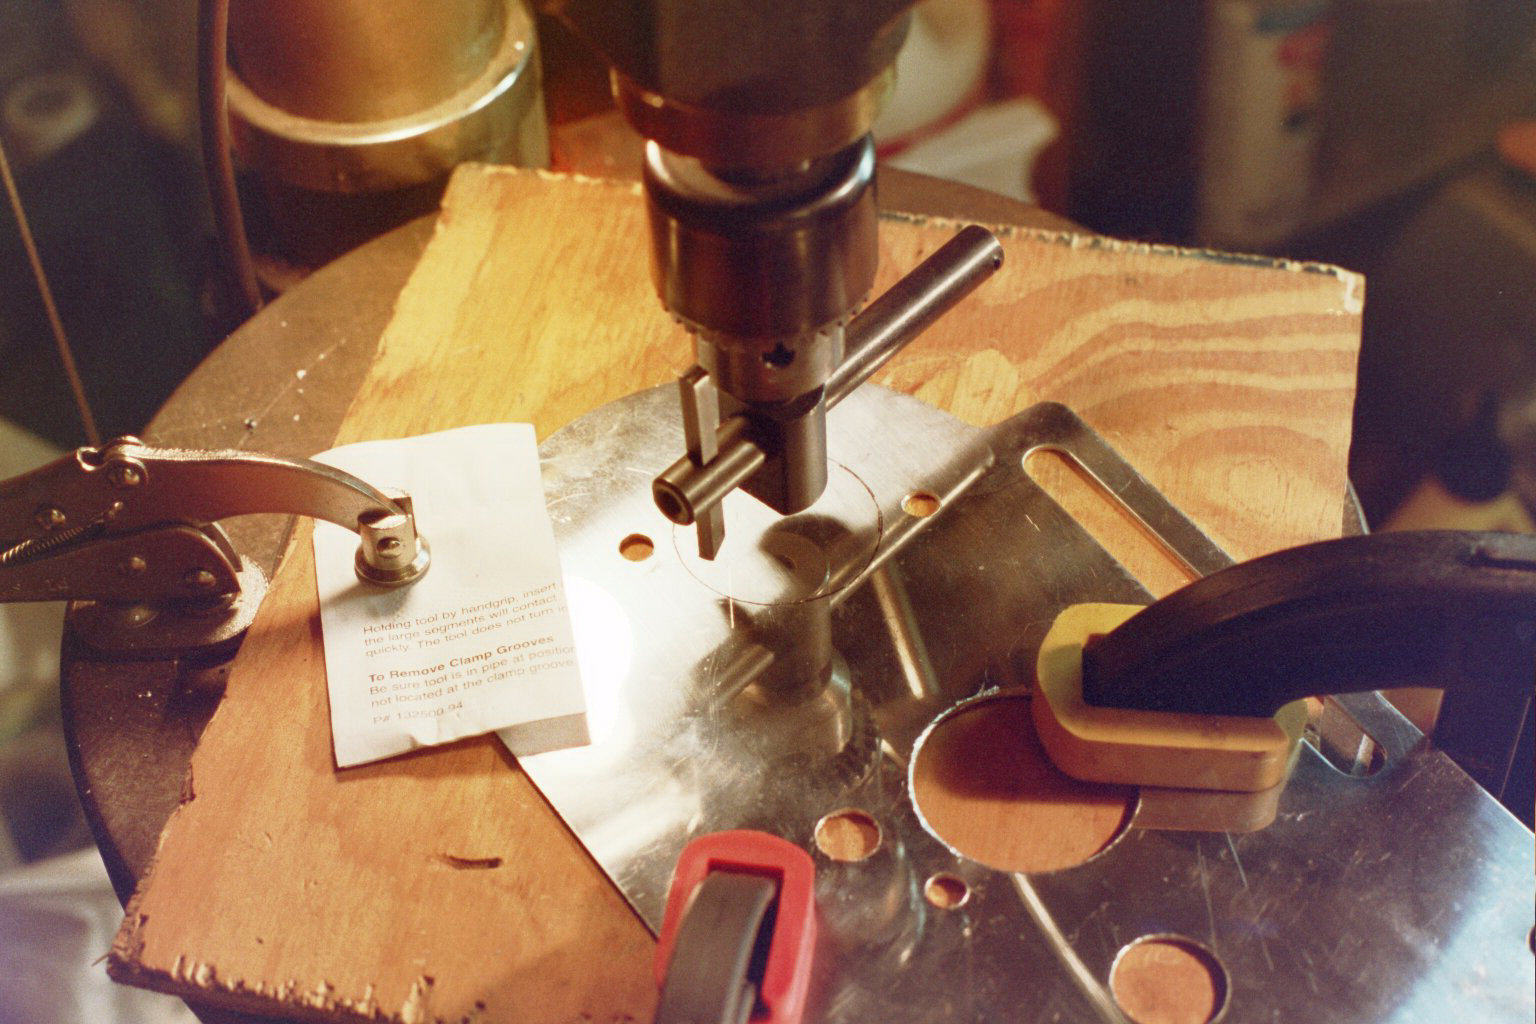
Watch out for tool clearance. The cutter I used requires an area larger than the hole to be cut. Pay particular attention to the clamps you use, when securing your work to the machine bed.
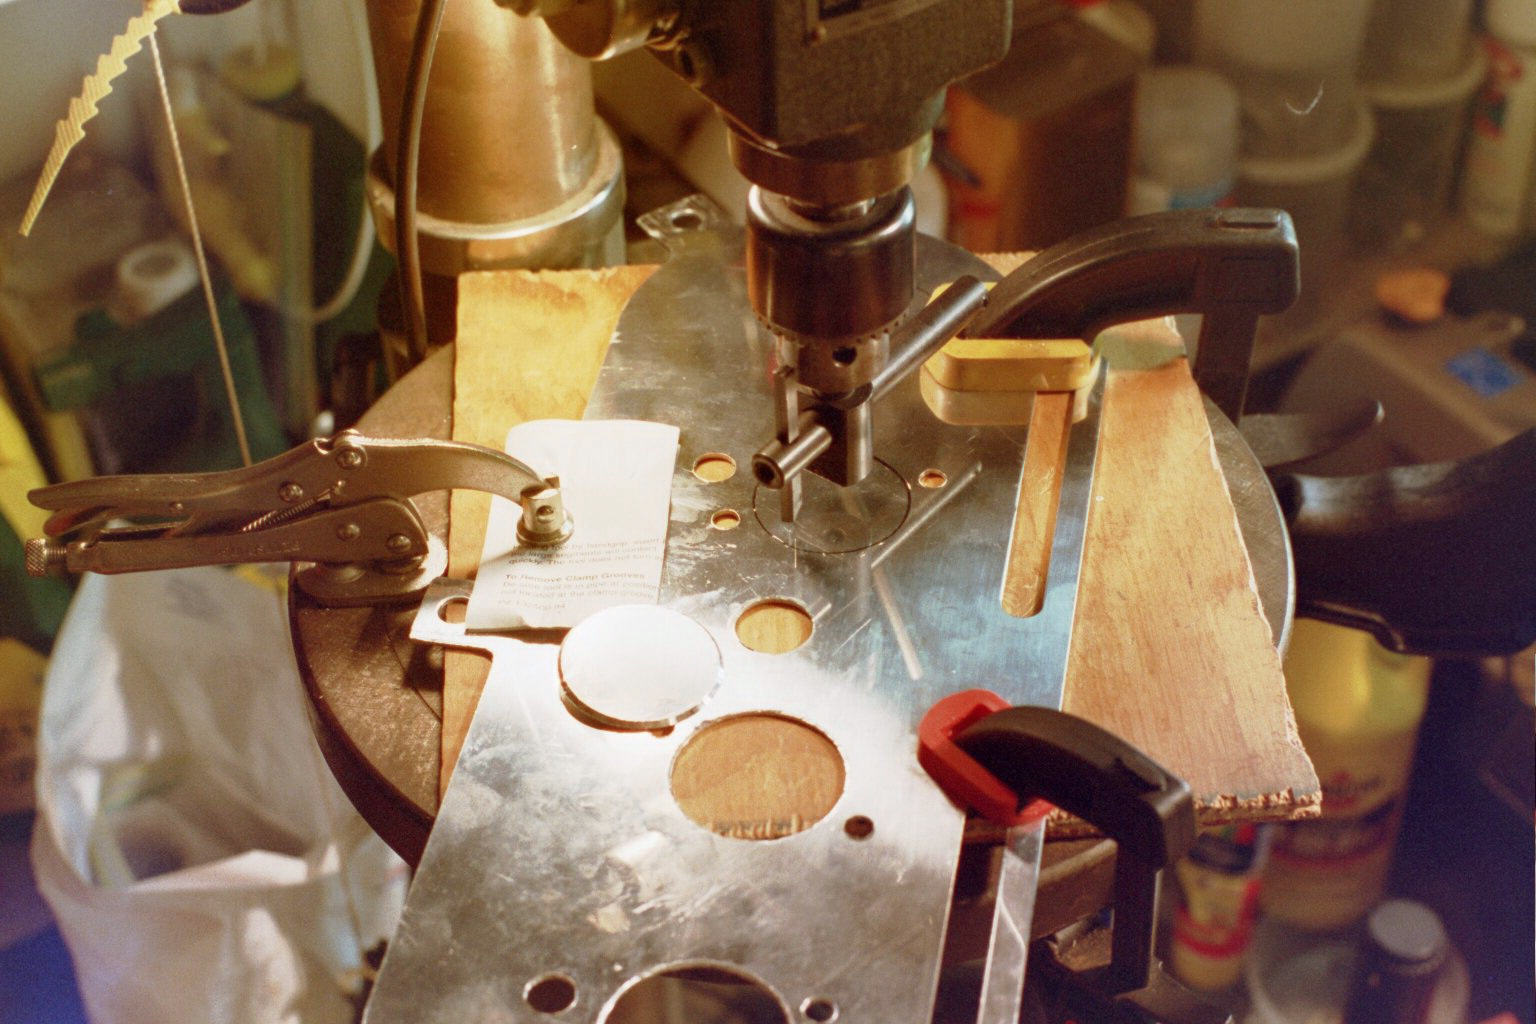
Try not to stop and reposition your work for whatever the reason after you have started cutting the hole with the tool. It is difficult to reposition the work to exactly the same spot where you stopped. The metal clamps may leave a dent or mark on the material, cushion them with thin cardboard or folded paper.
Nearing the end of the job, the usual edge cleanup still applies. The cutter left rough edges and burrs which will cause a person injury if they were not careful. A fine toothed file worked for me.
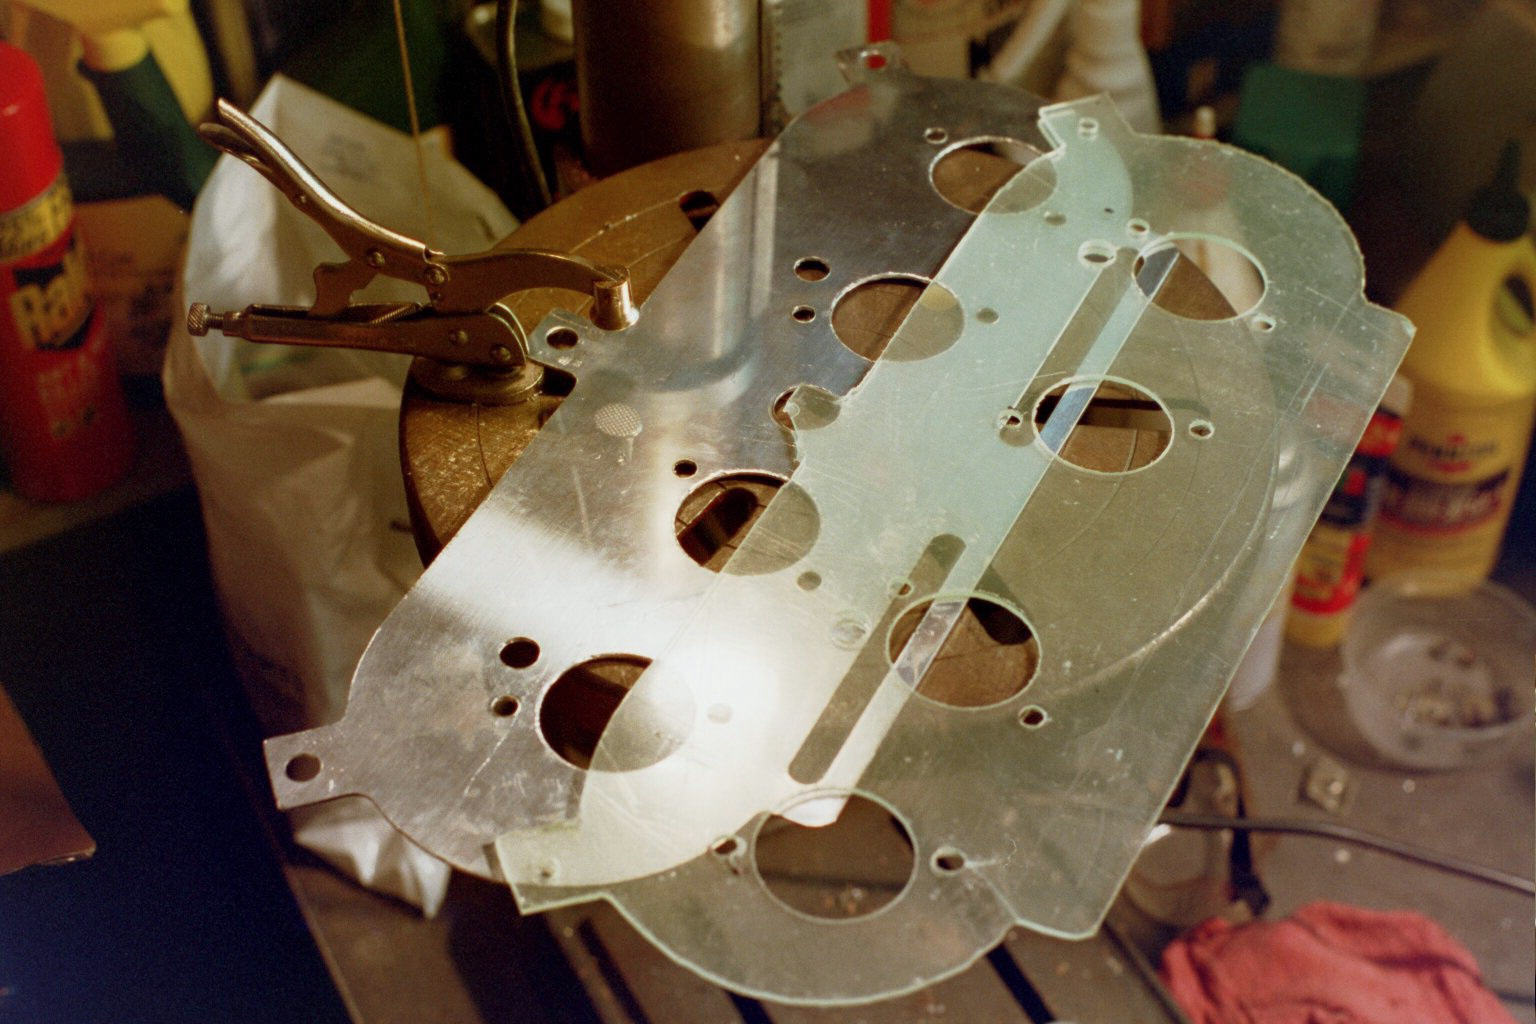
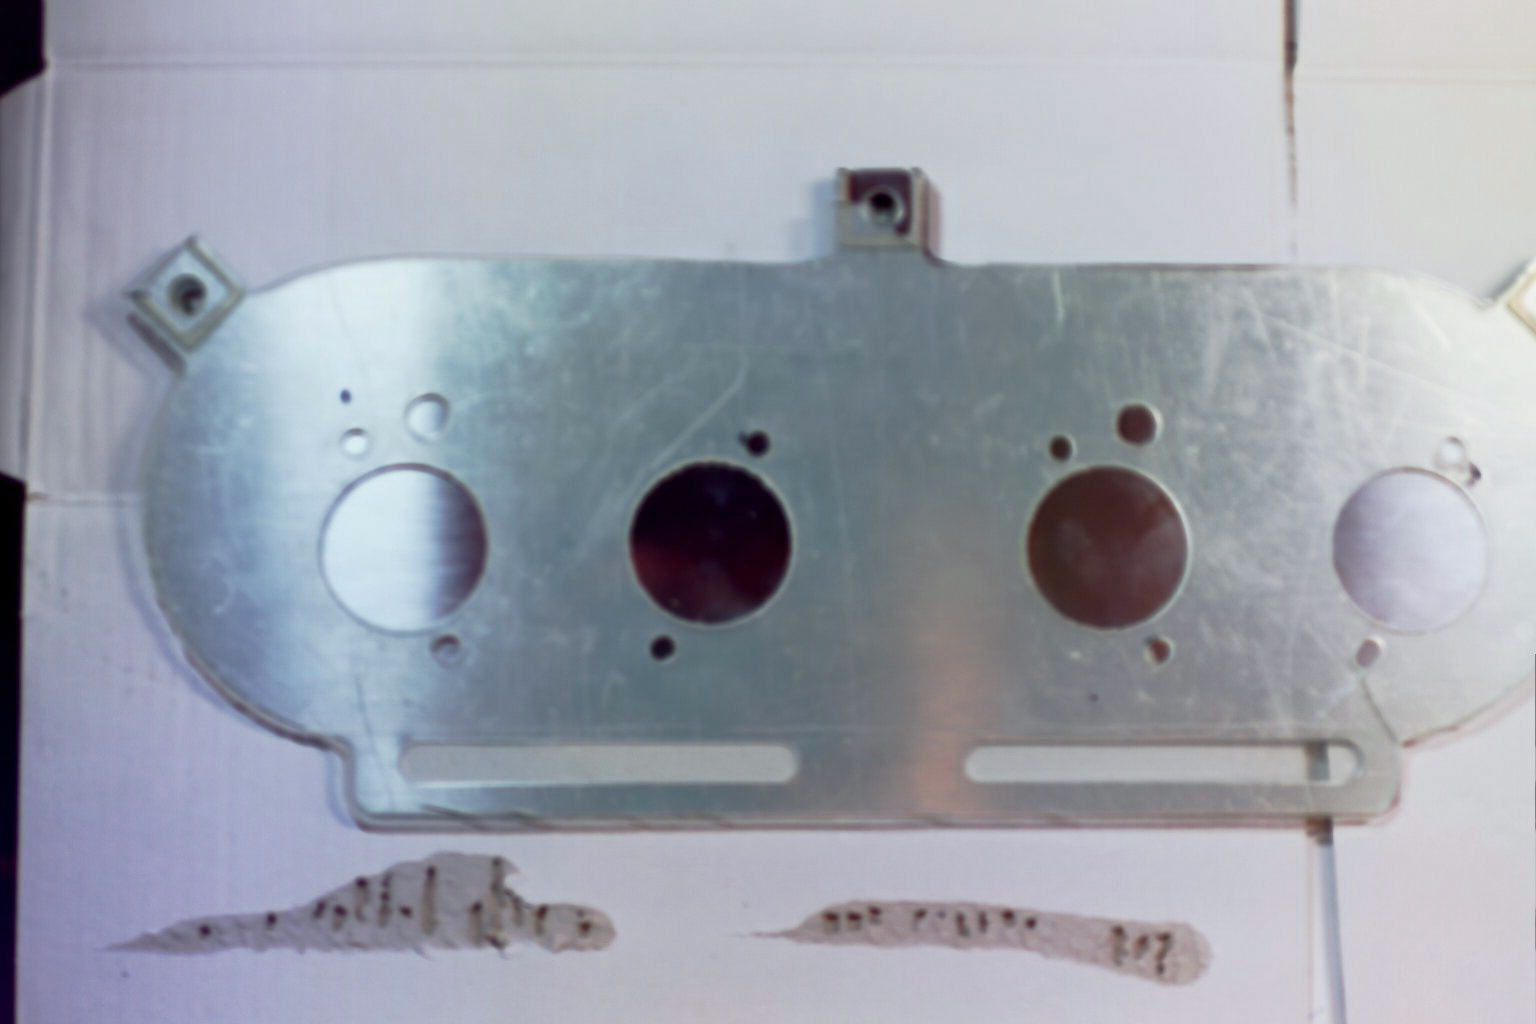
This is the final result.
Making the template and fitting that correctly made the last part of
the job easy. All the measurements were made, clearances adjusted,
etc. Cutting the aluminum was a matter of making sure not to mar the
finish while doing all the drilling and cutting. It literally allowed me
to drop this piece right into place in the engine compartment.
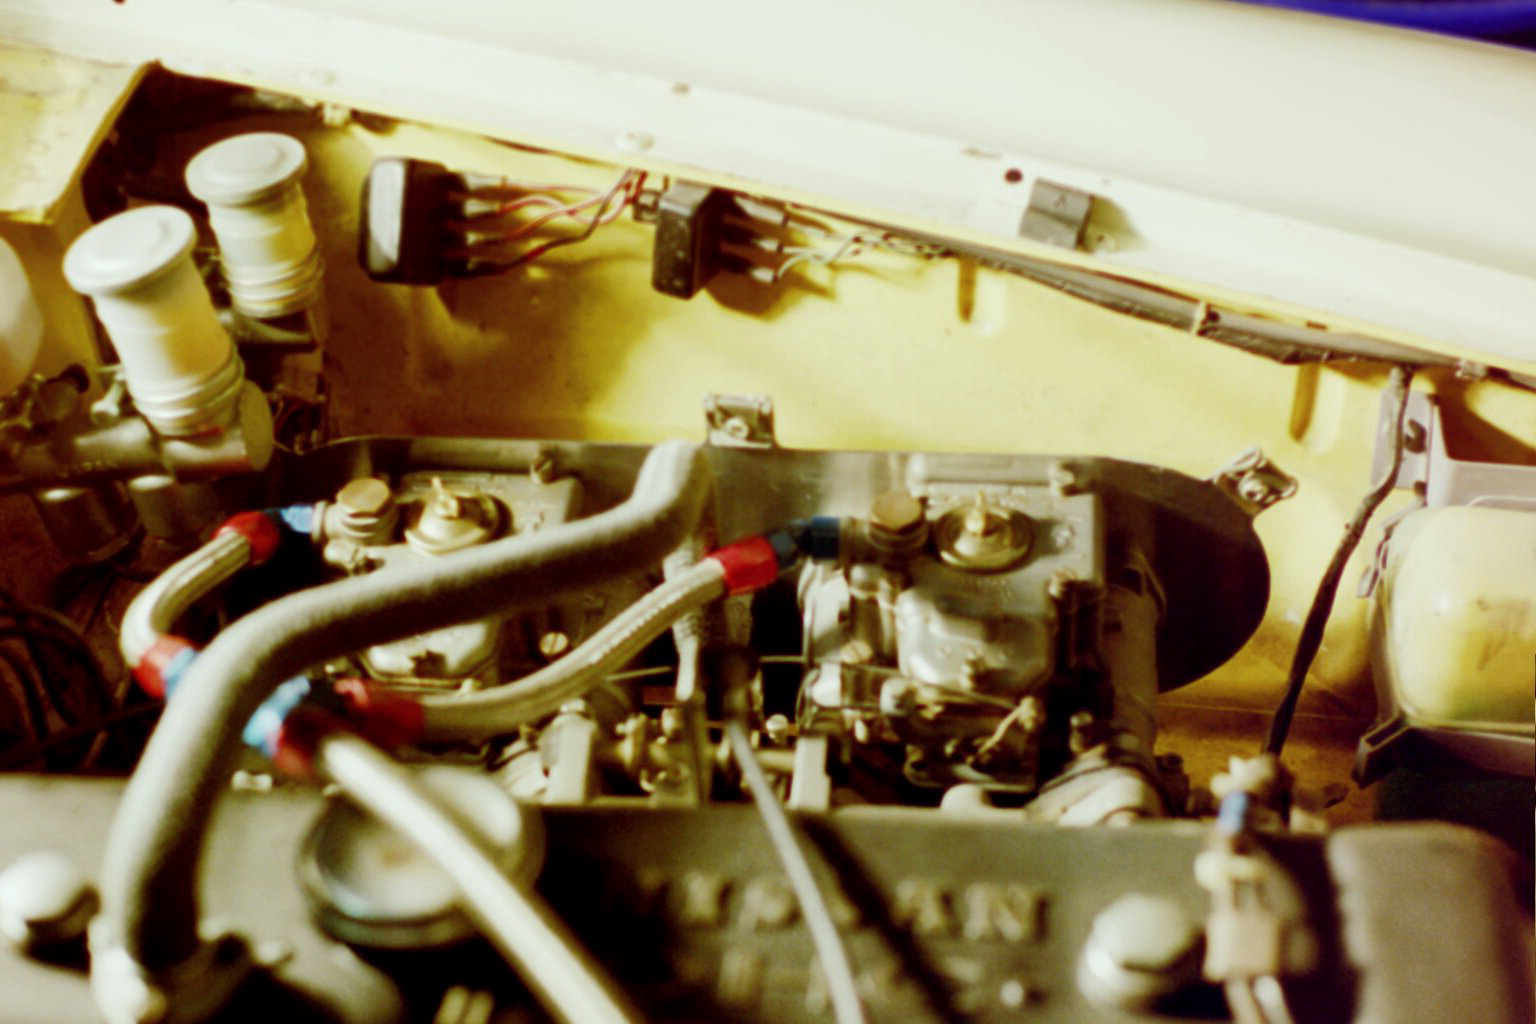
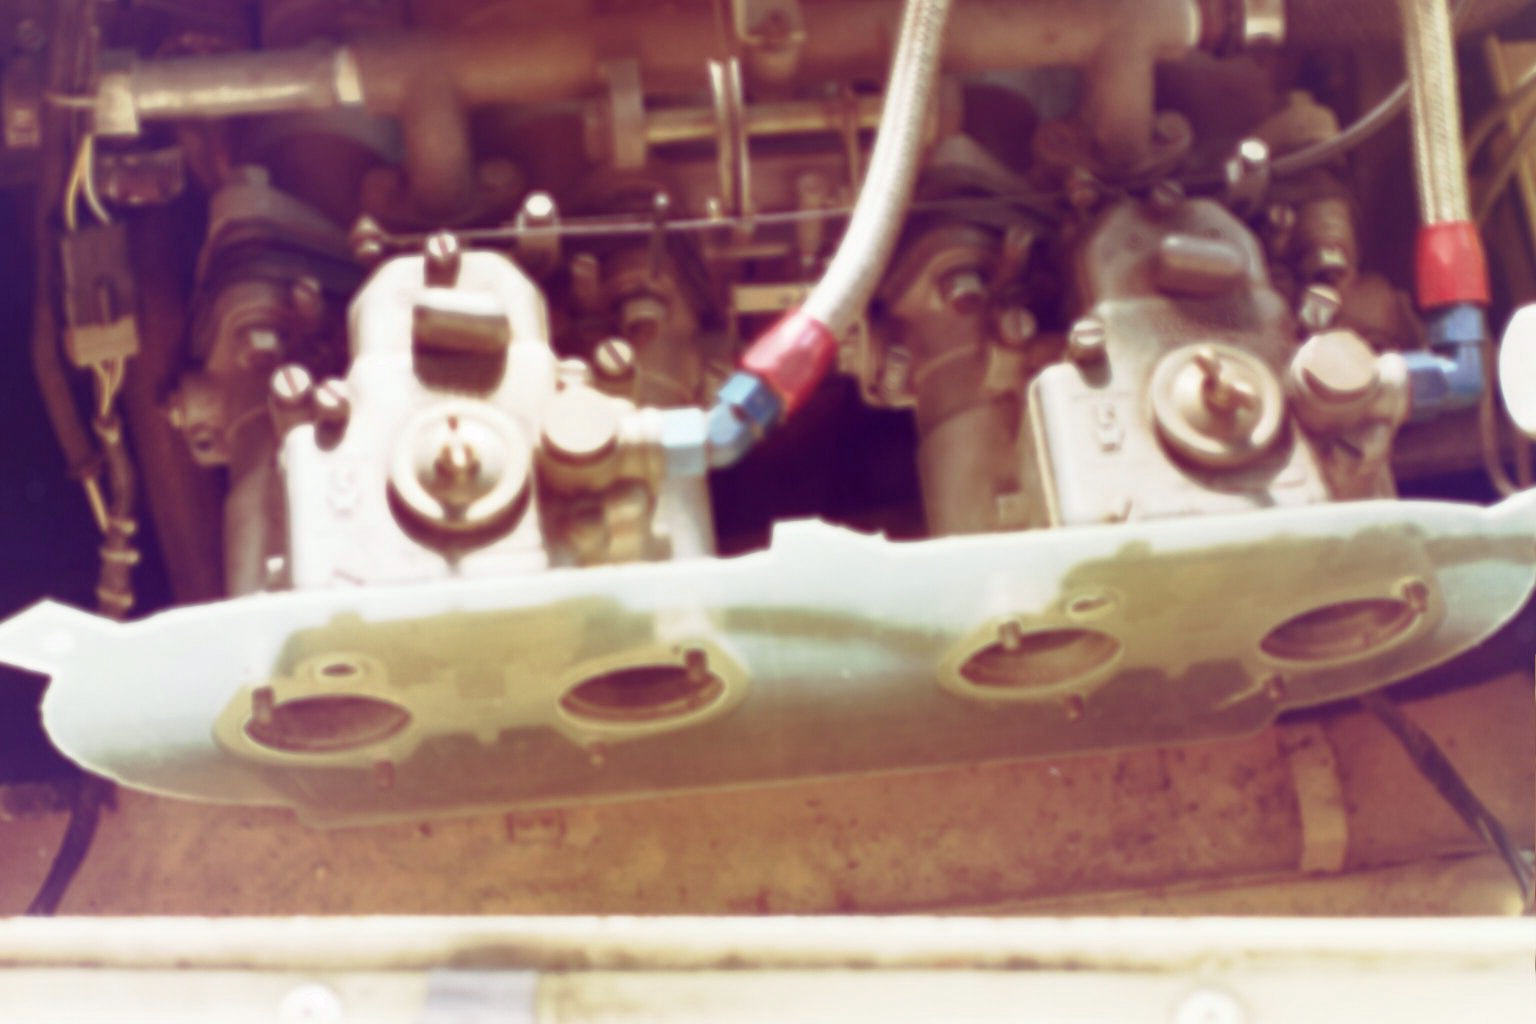
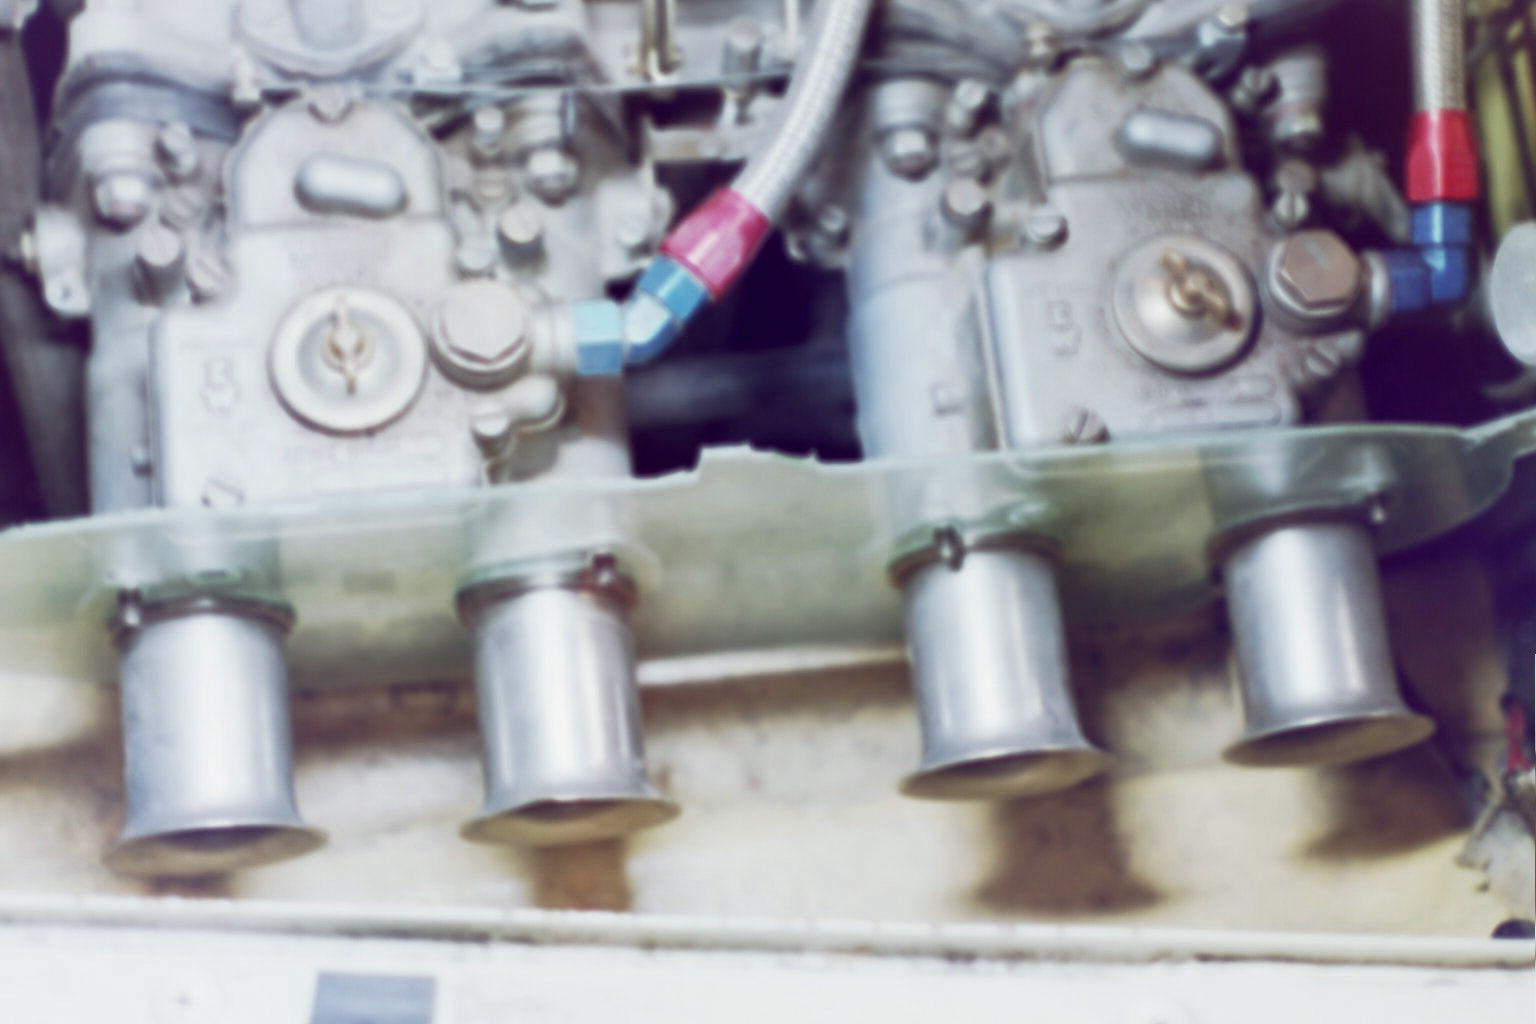
This is it mounted on the engine.
This is a view of the Pipercross Beehive Air Cleaner Housing
Backing Plate. I plumed the crankcase vent hose to fit in between the
two Webers. I am wondering if there will be enough vacuum to do the job
of evacuating the engine.
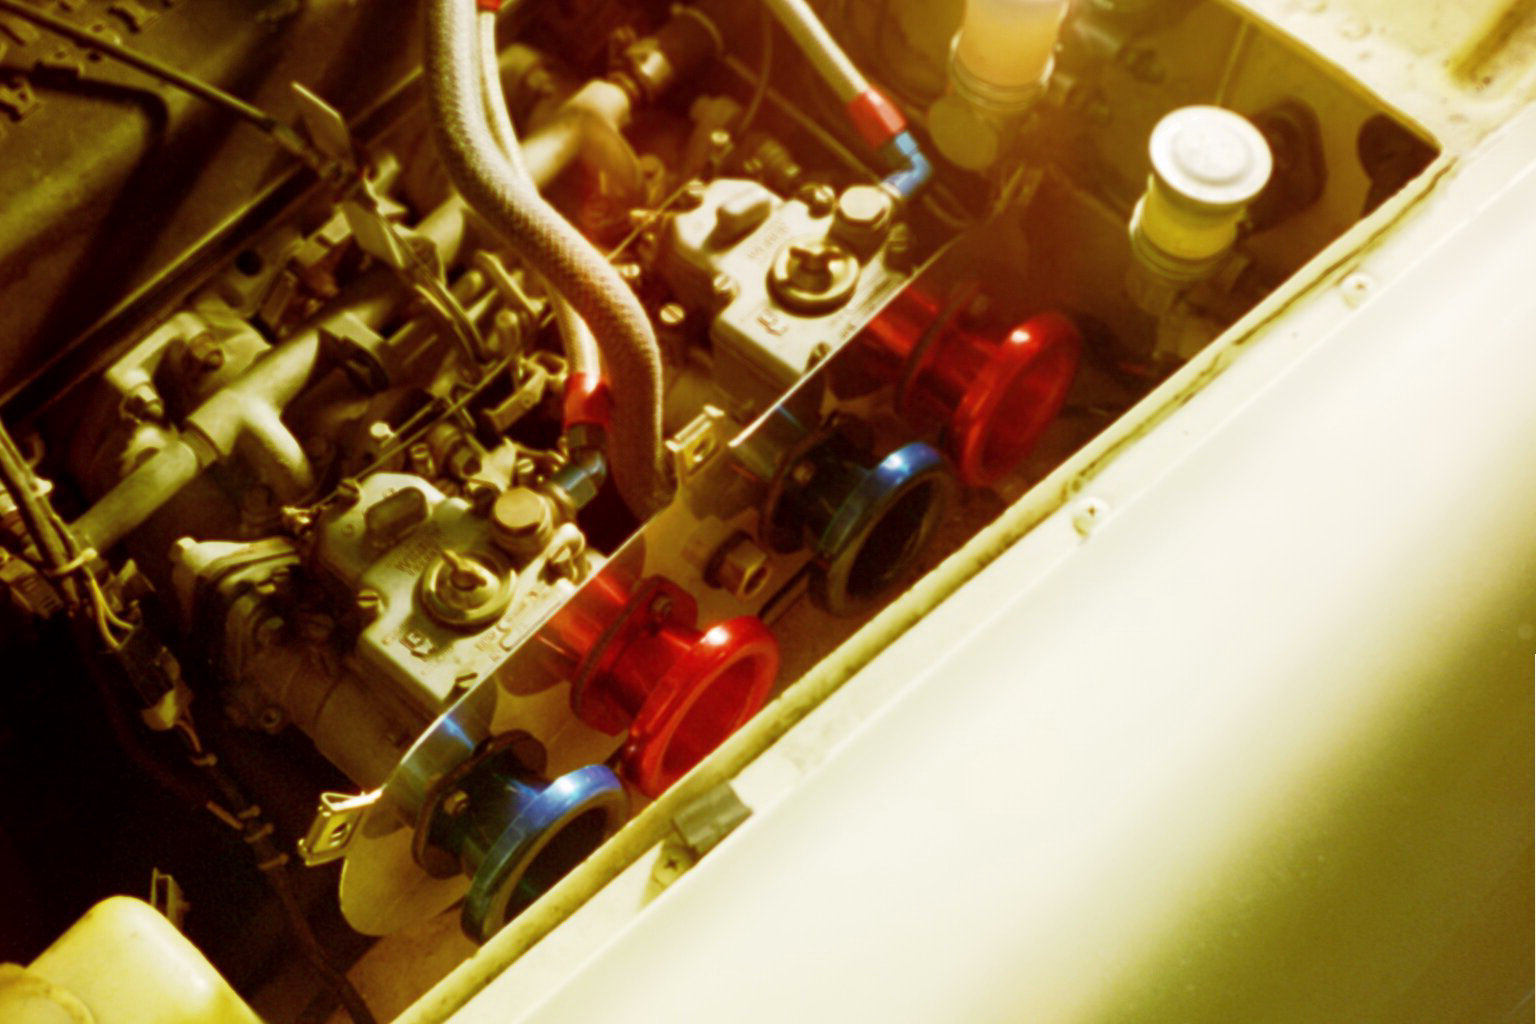
Particular to the Datsun installation, there is little chance that I would be able to get all the air horn retaining nuts tight. The bottom ones are almost inaccessible. The beautiful shape of the fully rounded air horn gets in the way. I've tried many things and have given up. I will only have the top bolts to hold them down/in. I have nightmares of the bottom ones getting loose, because I couldn't get in with any tools to really torque them down. With the air cleaner installed, it is certain that the nuts, once loose and fall off, won't get away, and sooner or later the loose one will get sucked in the air intake an' muck up the whole works......
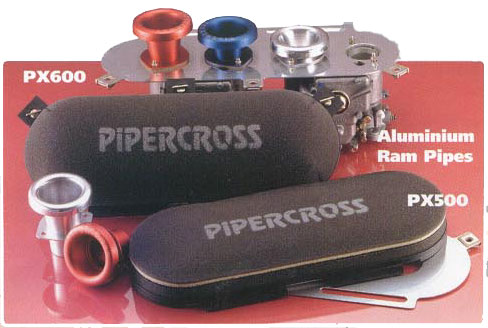
Looks can be deceiving. The air horns I got from Pipercross were"interesting". If I were at a speed shop and were able to hold these in my hand, I would not have purchased these for the price. A couple of thoughts as I hold these:
1) The air horns are not anodized red or blue. The color is
painted on, or rather a shellac coating has been applied. Very, very
fragile. Very, very, very easy to scrape and mar. This coating of paint
has no business in an engine compartment.
2) The air horns did not fit over the auxiliary venturi. They are undersized just enough to make it damn near impossible to put them on the carburetor without a fix. Forget about putting these on with the carburetors attached to the motor. Forcing the issue would no doubt cause the aluminum to collapse. My fix was to get out the exhaust pipe expansion tool. That tool, inserted into the tube, makes the ID of pipe bigger as you screw in the bolt. I did it a little at a time an finally got all four to fit. Had to be careful not to start a rip, the aluminum is very thin and soft. Be careful not to go so big that the OD would interfere with the Weber carburetor body, making the problem in the other direction.
It really bothers me, that at $25.00 USD/each, I have to do anything more to them than unwrap them and install them. The steel air horns I pulled off made me think, each one of them has a minor dent in them. Similar forces to these new air horns will probably be fatal. Food for thought.